
I’ve tested over a dozen wings on my Veloster N, and by this point a sane person would have settled on one of them. But I keep going mad scientist on new ideas, and this monster is my latest creation.
I started this project a couple years ago, before the Wing-Logic MSHD aluminum wing was available. I put this on the back burner for a long time, but recently resurrected it, with the intention of using it for testing low speed aerodynamics.
This is the second MSHD I’ve built from scratch. The first was made from 3D printed foam; this one is built sort of like a traditional airplane wing, with a thin skin over a frame of ribs and spars.
The central spar is a multi-lam of marine plywood, and is the main load-bearing member. The endplates and Gurney flap are also made from plywood, while the nose is a solid wood dowel. The skin is thin plywood with fiberglass on top.
Unlike a traditional airplane wing, I started building this from the outside in. Meaning I began by gluing a MSHD template on the end plates. These were drilled to accept a wood dowel for the nose, and notched for the central spar.
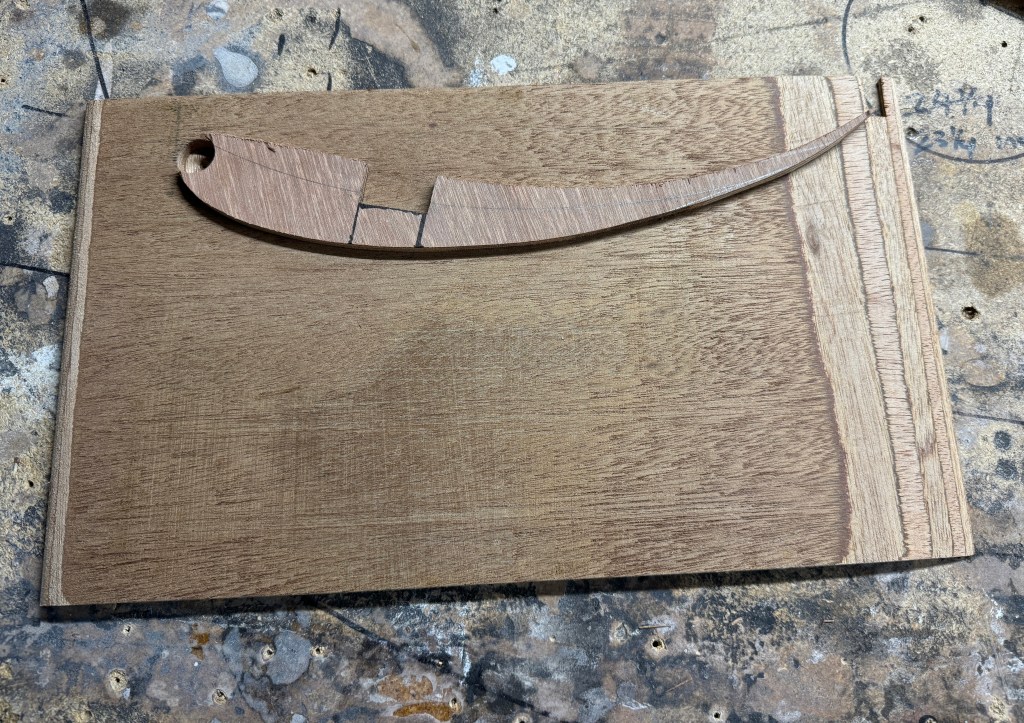
The end plates are 9mm plywood, bull nosed on the leading edge, and knife edged on the trailing edge. The top of end the plate is parallel with the chord of the wing, and so setting wing angle is as easy as putting a level across the top edge.
I may eventually shape the endplates into something more visually interesting, but the rectangular endplates made the building, fiberglassing, and sanding much easier. Because no matter which side of the wing I worked on, the wing was always sitting on a level surface (supported by the endplate), not rocking around on a curved surface.
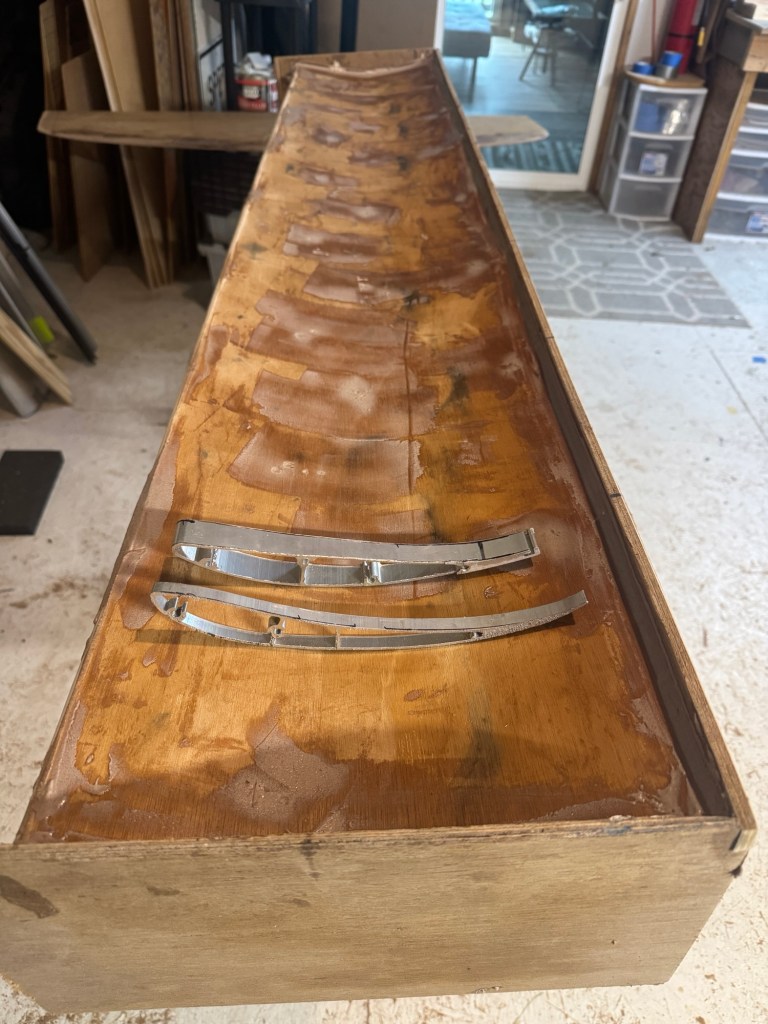
With the nose and spars supported by the end plates, the next step was the ribs. I cut out several MSHD-shaped airfoils from marine plywood, spaced them out at even intervals along the central spar, and epoxied them into place.
One challenge with the MSHD airfoil is that it is very thin at the trailing edge, which is difficult to build in wood and fiberglass. So I decided I would cheat a little and build a Gurney flap into the trailing edge. This would act as a structural element, while keeping me from fretting over the trailing edge geometry.
This wing is intended for low speed and will be used near the maximum angle of attack, and so a built-in Gurney flap makes sense. The Gurney flap also keeps the trailing edge true, which is a challenge with these DIY wings.
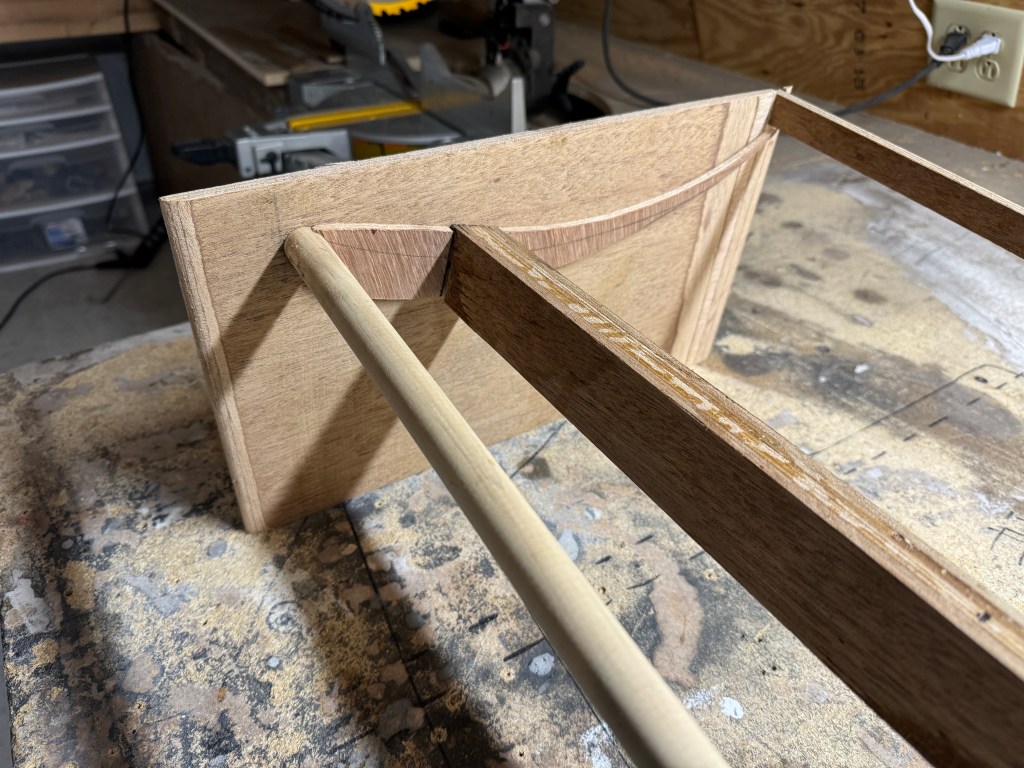
After the nose, main spar, ribs, and Gurney flap were glued into place, I had a skeleton of sorts. The next step was attaching the top and bottom skins. These are made from very thin plywood, glued down on top of the frame. I screwed these down to provide equal clamping force, and then removed all the screws after it set.
The plywood skin alone is not strong enough, nor water resistant, so I wrapped the entire wing with two layers of 6oz fiberglass. After that set, I did some minor fairing (filling and sanding), and then painted it.
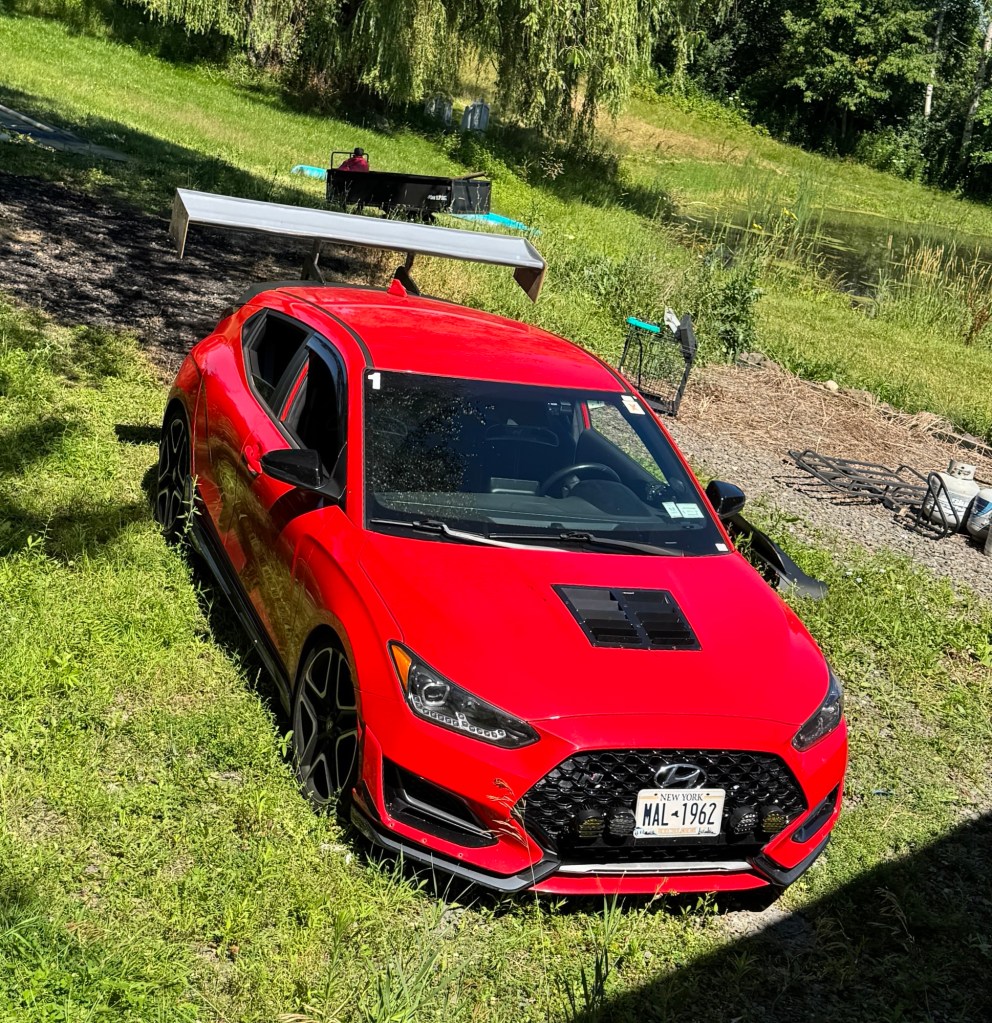
All complete, the wing measures 1800mm x 335mm, or about 71” x 13.2”, for a total area of 937 square inches. The total weight, which includes bottom mounts and endplates, is 6.5 kg, or 14.3 lbs. I was shooting for 6kg, but the second layer of fiberglass and paint pushed it over the edge. Material cost was maybe $100, but there’s obviously a lot of labor involved.
The hatchback wing mounts have a flat top surface that allow me to move the wing forward or back 7” or so. Moving the wing rearwards also increases the height slightly, so I can tune not only the wing angle, but the position as well.

Testing
If you’ve kept up with this blog, you’ll know I tested a few wings at Pineview and NYST last year. Weirdly, the car kept getting faster with more rear aero alone (no splitter or canards).
To recap those results, at Pineview Run, a short single wing (53”x11”) was .7 seconds faster than no wing, and a dual wing (4.7” wing on top of that wing) was 1.3 seconds faster. At NYST, those results were just about doubled, with the single wing being 1.5 seconds faster, and the dual wing 2.5 seconds.
This is weird, because you wouldn’t expect a rear wing to help a nose-heavy FWD car that much. Adding rear downforce at speed should make the front understeer more. But logic, math, and rules of thumbs be damned, more rear aero was more better.
The disbelieving side of me wants to re-run these tests at both tracks. Mass Tuning is at NYST in September, and weather permitting, I’ll back-to-back this new one with the previously tested wings, and report back.
I’ll also A/B test this wing at an autocross, because I want to see what happens at very low speeds. Seneca Army Depot is 25 miles from me, and there are two test and tune events there in August.

