
In normal driving around town, my Veloster N oil temperature stays fixed at 205.7 degrees. On track, oil temps regularly reach 275 degrees. I saw on the N Owners AX/Track Facebook group that one person saw 289 on track!
Is this something to be concerned about? The engine is warrantied for track use, so maybe I’m being overly cautious. But I know that oil breaks down faster at high temperatures, and I personally want my engine to run cooler, because I know it can.
To improve cooling I can install an oil cooler, upgrade to a larger radiator, improve the heat removal properties of the fluid, and increase the efficiency of air moving through the radiator. Let’s take a look at all the options.
More cooling
Mok Racing sells a nice oil cooler kit from Color Fittings that mounts to the front bumper beam. The oil lines are the correct length and it’s an easy install. I bought one and had it on my first engine, but it’s currently off the car, as it needs cleaning out from when my engine blew up and put metal inside the cooler and lines. I’ll likely put this on again, but it depends on how the other things work out.
On Miatas, we typically install a thicker aluminum radiator. SXTH sells one for the DCT, and I’m not sure why it wouldn’t fit the manual, but it’s specifically listed for the DCT. But before I go bigger, I’ll improve what’s already there.
Better fluids
The first thing any track car should do is dump the 50/50 antifreeze in the radiator and replace it with distilled water. For one, antifreeze is slippery, and if you lose coolant on track you’ll create a dangerous slick that may cause an accident behind you. For this reason, racing organizations ban the use of antifreeze, and many tracks will charge you for cleanup if you dump coolant on the track.
I was at a SCDA event at Watkins Glen when a McLaren dumped its coolant between T10 and T11. The first two cars through were my buddies Steve and Gregg, and somehow they saved it, but the next four cars all hit the Armco in T11 at high speed. I watched that entire incident unfold, and the cars would have taken a lot less damage, or maybe none at all, if the McLaren had used straight water instead of antifreeze.
The other reason to replace the antifreeze is that it reduces the cooling effectiveness of water. Motortrend found that compared to plain water, 50/50 ethylene glycol antifreeze decreases cooling efficiency by about 17% at 200F. If you use propylene glycol for coolant, it’s even worse.
Switching to pure distilled water will improve cooling, but you can also add products like Engine Ice or Water Wetter to improve cooling even further. I wouldn’t use Engine Ice, as it’s slippery, just like antifreeze. But both products have good documentation and user reviews that show around a 10-degree drop in coolant temperature. Just remember to go back to 50/50 antifreeze in the offseason, if there’s any chance of freezing temperatures.
Improve airflow
With the fluids taken care of, let’s take a look at the path air takes through the radiator. The entry is large, with the bumper (and license plate) splitting the radiator into upper and lower halves. That’s OK, as a radiator typically needs only 1/3 of its total area for both the entry and exit.
Look behind the radiator and you’ll notice that the radiator doesn’t have a prescribed exit. Air has to work its way around the various components in the densely packed engine bay, before eventually exiting under the car. This isn’t an efficient way to remove air.
In addition, dumping air under the car creates drag and lift, which is bad for performance. If your car has a splitter, then air from the engine bay can wrap around the splitter, and the splitter loses suction as a result. This is a lose, lose situation.
A better arrangement is to duct the exit of the radiator. Hucho wrote about this in The Aerodynamics of Road Vehicles and provided values for both drag and cooling.

Of the arrangements Hucho experimented with, sending air upwards through an extractor vent is the easiest to manage, architecturally. The other designs require lots of duct work, or possibly a full redesign of the cooling system.
An extractor vent is also the best arrangement for drag reduction, resulting in .015 less drag. Hucho doesn’t include values for front-end lift, but as air moves upward, it pushes the car downward, and so the extractor vent will create a small amount of downforce as well.
Finally, the extractor vent is very good for cooling. The air on the front half of the hood is low pressure, and so a duct here will suck the air upward out of the engine bay, and cooling efficiency is greatly improved. I’ll take an incremental improvement in cooling with a reduction of drag and lift and call that a win-win-win.
Extractor hood
Now that I know which path to take (or more accurately, which path for the air to take), I can go about modifying my car. I didn’t want to cut vents into my pristine OEM hood, so I looked for a junkyard replacement.
Unfortunately the Veloster is rather rare, rather new, and hard to find at the breaker. Did you know they only sold 1500 VNs in the final year? Crazy that nobody wanted it, I had to get one shipped from Utah myself. Anyway, I didn’t find many hoods, and those I found were the wrong color and expensive to ship. Adding the shipping and painting and the price of Race Louvers put the whole project well over $2000. Hell, at that price I may as well buy a fiberglass hood with vents already in it.
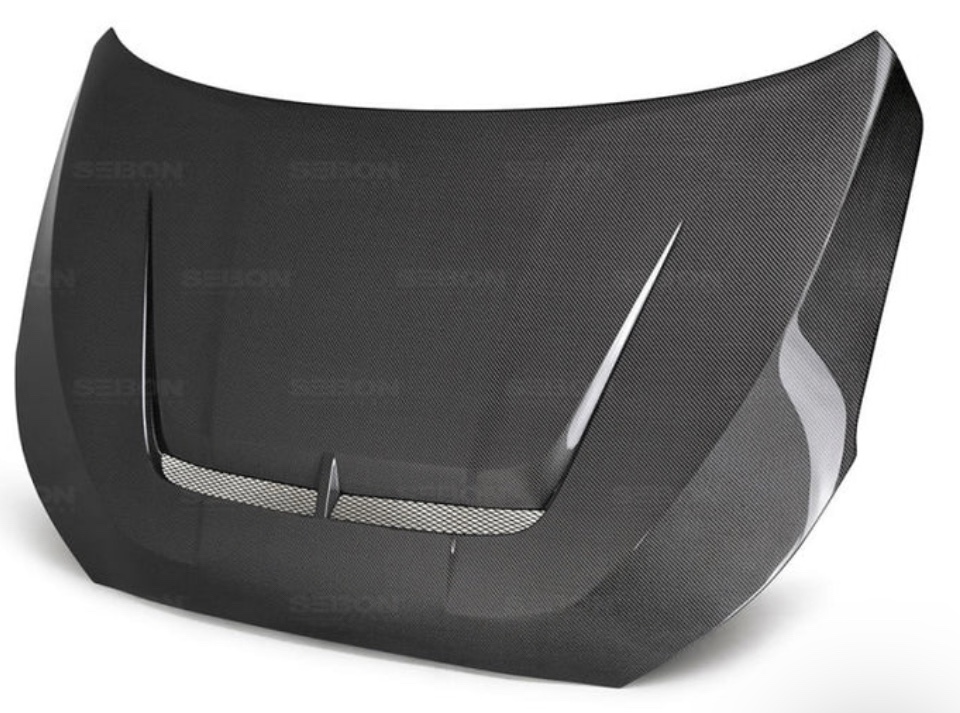
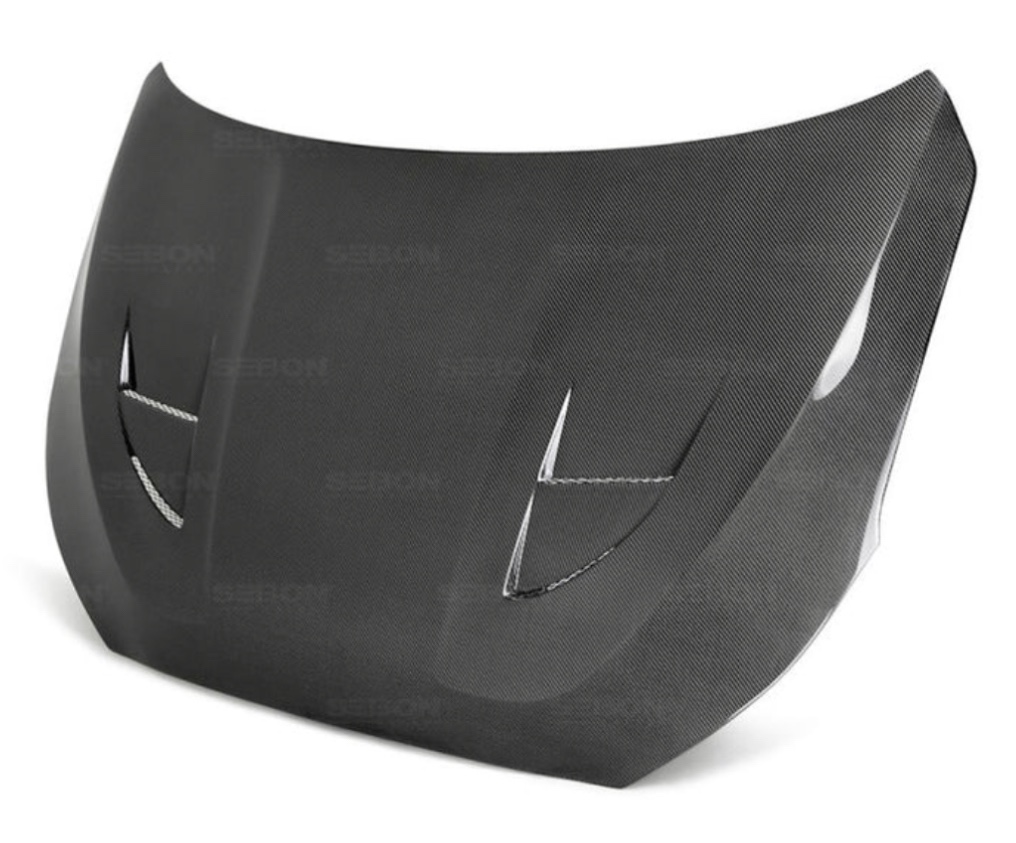
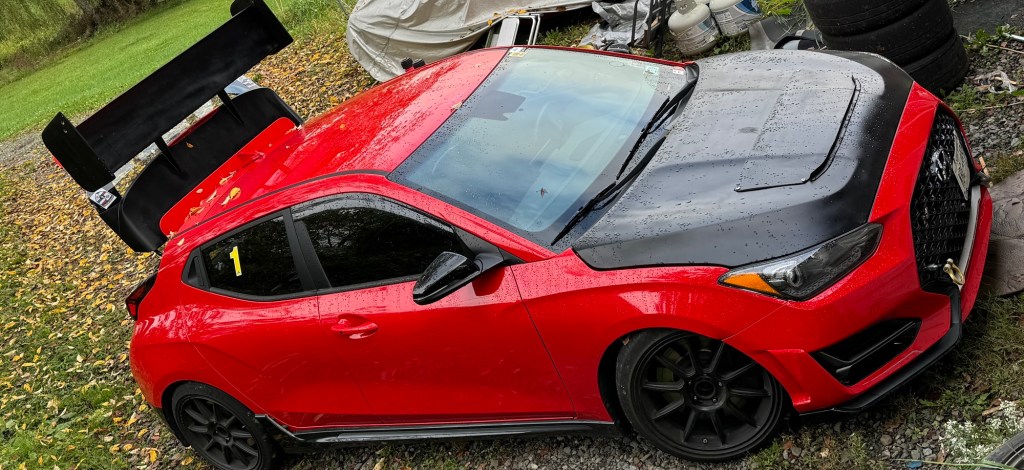
So that’s what I did. I found a Duraflex (FRP) hood on “Summer Sale” for $650, and with shipping it was $820. There were a couple different models available with vents already in it, one with a horizontal extractor vent and one with a pair of vents on the side.
Hood vents need to be as far forward as possible, and directly behind the radiator exit. The curvature of the hood creates a low pressure region, and so vents placed forward on the hood suck air out and upwards, greatly increasing cooling effectiveness.
Hood vents that are placed on the side of the hood might look cool, but they don’t cool. Since they don’t send as much hot air upwards, they also don’t create as much front downforce.
I saw a picture of one person who took a bad idea and made it worse. They took side vents and put them as far rearward as they could go. There’s less curvature on the hood here, and thus less extraction.
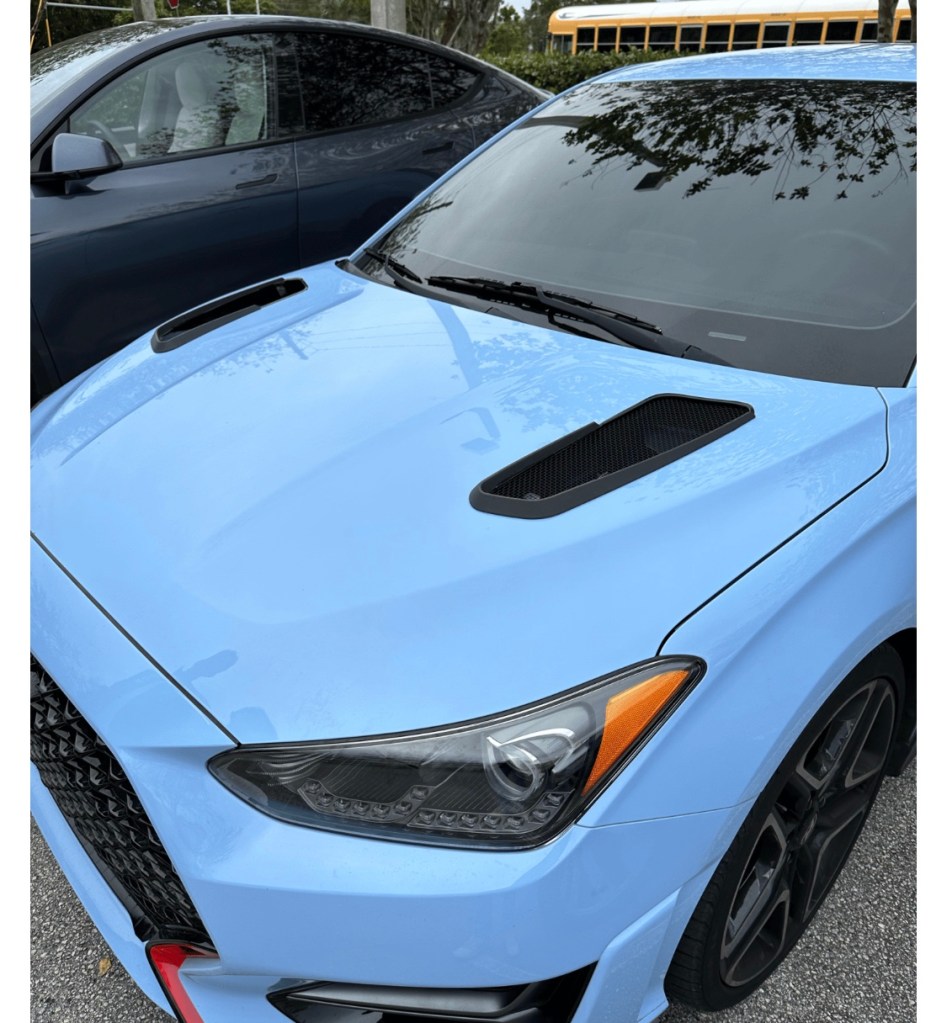
Worse yet, the base of the windshield is a high pressure zone, meaning if your hood vents extend this far rearward, air goes into the hood, not out of it. You see the same mistake with people who put vents at the base of the rear window thinking it extracts air, when it just puts exhaust fumes inside the car. Gaaaah!!!

Good lord, I went off on a rant there. Anyway, I ordered the hood with the extractor vent. It took a couple weeks to arrive, and on unboxing, it looked pretty good. The packaging was done well, including two pieces of wood bolted to where the hinges go, to keep from damaging the pointy rear section. As I removed the bolts I found that one of them was cross threaded into the hood. C’mon people, if you’re going to put this much effort into creating a decent product, don’t have your shop monkey install the bolts with power tools!

Initial fitting was easy, just four bolts and no spray nozzles to mess with. The hood leaves some gaps on the side, and rides a bit higher in the rear, and I would have liked a better fit. There was also no hole for the hood prop, but that’s an easy fix with a big drill bit.
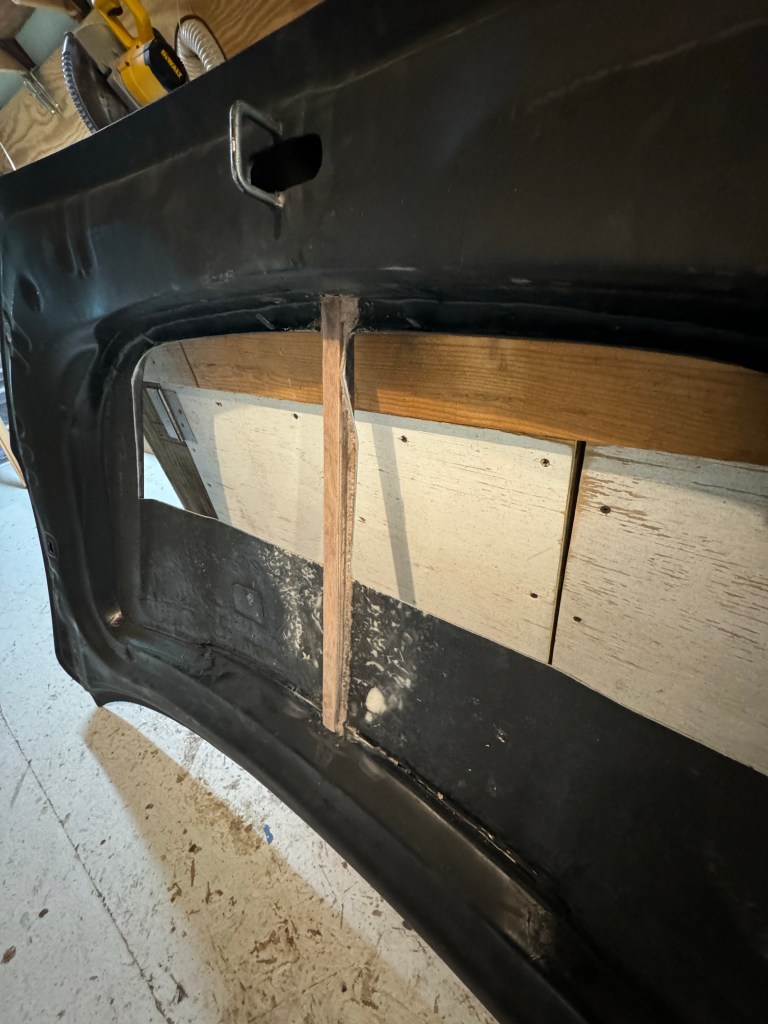
A more involved fix was fiberglassing the seams on the inside of the hood. These seams weren’t glued together very well, and resulted in a loss of structural integrity. I could see the hood vibrating on the highway and it raised up significantly in the wind tunnel. After glassing the inside seam all the way around, the hood was much more solid and no longer flexed. But I may add a couple hood pins just to be on the safe side.
The Duraflex hood weighs 20 pounds, which is 13 pounds lighter than the steel hood. Removing weight from the already front-heavy car is a nice side benefit, but the reason I bought the hood was for the extractor vent. It measures 27” x 1.75” or about 47 square inches, which is too small.
As stated earlier, the rule of thumb is the radiator intake and exit ducts should be about 1/3 the area of the radiator. The rad measures 25.5” x 11.75” or about 300 square inches. So I need at least 100 square inches of exit venting. However, the intake area measures about 185 square inches, and so ideally I’d like that much on the exit, as well.
To find out where I could install more vents, I put blue tape on the hood, avoiding the contour lines and using only the flat spots. Essentially there’s one large area behind the extractor and then two narrow spots on each side.

With these dimensions and pictures, I contacted Race Louvers. Al said they’d like to see 400-500 square inches of hood vents. Three vents would cost $850, which is more than I paid for the hood itself. Yeesh.

Money aside, that’s a lot of hood vents for a 300 square inch radiator. I used more blue tape to see where the ducts would line up in the engine compartment. Most of the engine is covered by plastic covers, which is perhaps why such a huge vent is necessary. Also apparent was that adding the side vents would put a vent directly on top of the intake area, which might not work well for a cold-air intake, depending on its routing.

In the end I decided to take the easiest course of action and increase the size of the extractor vent, bringing the rear edge about flush with the main plastic cover in the engine compartment. I kept the support webbing in the middle of the vent and blended it into a curve which almost has a BMW look about it.
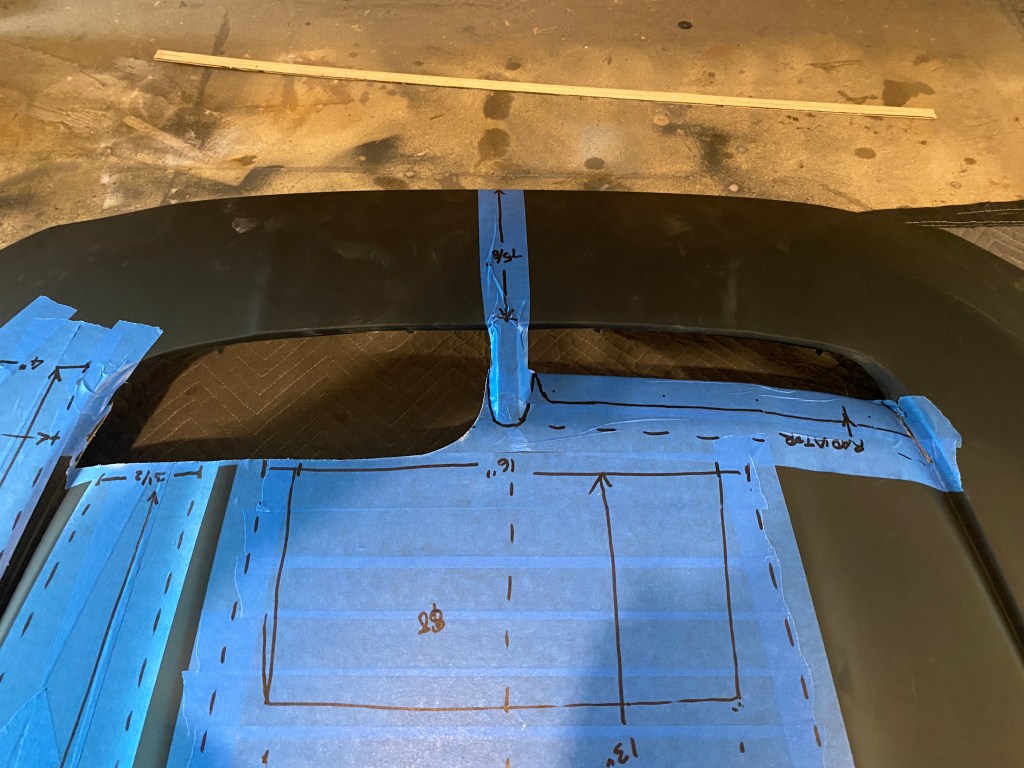
Opening up the vent added 88 square inches (187% more area), and so there’s about 135 square inches of exit vents, which isn’t ideal, but it’s 135 square inches more than the OEM hood!
I also added a small wicker along the leading edge. This will build local pressure on top, as well as locate a higher stagnation point in the rear. Combined, this aids upward extraction and creates more downforce. I also made a vent cover for when I park the car in the driveway, and so that I can A/B test the difference between a vented and non-vented hood. For science.
Track test results
On track at Watkins Glen, I saw 275.9 degrees using 50/50 coolant and no hood vents. The next day I drained the coolant and used distilled water with Water Wetter, and saw 263.8 degrees. That’s not bad for a simple change like that.
With the hood vent open, the temperature fluctuated between 255.3 and 263.8 degrees, but was mostly at the higher number. Huh, so the vents didn’t cool the car much, or at least that doesn’t show up in oil temp.

At the end of the session, I turned the car off and held my hand above the hood. I could feel hot air being pumped out of the vent by the fan, and it was pretty obvious the vent was quite useful for the radiator, even in the parking lot. No need to open the hood, that’s for sure.
Wind tunnel results
I was able to test the hood vents open vs closed in a wind tunnel, effectively testing the difference between an OEM hood and a properly vented extractor hood. On a stock bodied car (no aero), the hood vents added a small amount of drag (cD .003). This makes sense, as the vents would be bad for laminar flow across the hood. The hood vents increased front downforce by 2.5 lbs and surprisingly added 4.5 lbs of rear downforce on the OEM spoiler (at 100 mph).
However, on the same car with a splitter and wing, the hood vents were more beneficial. Drag decreased instead of increased, but only by .001. More significantly, front downforce increased by .020. An easier way to visualize that is a gain of 11.4 lbs of downforce at 100 mph. The reason for that is largely because the splitter works better when air goes up and out of the hood, rather than down and under the car.
Hood vents often result in a loss of rear downforce, first because anything that pushes one end of the car raises the other, and second because turbulent air going over the top of the car reduces the effectiveness of a rear wing. However, these hood vents only lost 0.3 lbs of rear downforce on the rear wing, which is rather surprising given that there are no louvers to straighten out airflow, just a big gaping hole.
Altogether, the hood vents on the car with aero (splitter and wing) resulted in a 4.5% improvement in overall aero efficiency. I ran a simulation at Watkins Glen, and the hood vents resulted in a .11 second reduction in lap time. That’s a tiny amount over one lap, but in a 20 lap race that’s over two seconds.
Conclusion
I guess the biggest question is, would I do the same thing again? I put a few hours of labor into fixing the hood, and it still needs to be painted red. If I had found a OEM hood in the right color, and got custom Race Louvers, I’d probably be out the same amount of money for less labor, and be overall more satisfied with the result.
On the other hand, the 13 pound weight savings is a small benefit, and the black hood is kinda growing on me, even if I’m a little too mature for that look.
I’d like more front downforce, but that’s just a matter of increasing the size of the vent and adding some louvers to build more local pressure on top of them. I’d also like better heat extraction, but I’m not going to do the necessary surgery to tilt the radiator forward, or remove the fans. But maybe I can create a better exit by ducting with aluminum flashing.
I guess I’m not done experimenting with this, which is why I bought the hood in the first place. So, yeah, I’d buy it again just to do the experiments. For science.
Update Aug 2024
I increased the size of the hood vent to about 10”, which should be around 305 square inches of area, which is 650% more than the hood came with initially, and over 225% of the size it was when I modified it.

To make sure it was sturdy, I laminated marine plywood strips into the center support.
It’s very sturdy; I can put my weight on it, and it barely flexes.
The next step is to make a cover for it, because I don’t want to collect rain, leaves, and bird droppings in my engine bay. A rain cover will also allow me to do A/B testing and see how much this helps cooling, and when I get back down to the wind tunnel, I can see the effect on drag and lift.
I haven’t decided if I’ll add louvers yet or not. For one, they make the rain cover more difficult to build, since louvers typically sit up above the surface. Also, according to the JKF Aero course I took, the louvers mostly benefit rear aero, and so if I want the most cooling and front downforce, I should just leave a big hole and put a 1” Gurney flap in front of it.
When I’m satisfied with how it works, I’ll probably paint it red to match the car, or a lighter color to reflect heat.

I hadn’t realized 50/50 antifreeze was that much worse at cooling than distilled water.
Our lemons car came with water that had been in the cooling system for close to a year, and it was a corroded mess. Not sure if they used distilled or tap water. Some googling suggests that even distilled can cause some corrosion issues, so water wetter seems like a wise idea.
LikeLiked by 1 person
I’m going to be testing this theory out for my last track day of the season. I didn’t want to wait until next year to get some data about 50/50 vs water wetter + distilled water. (I’ll be swapping back to 50/50 for winter here right after the track day, so I won’t have too much to worry about it sitting and causing corrosion issues.)
I was seeing 114C(!!!) at my last track day, and I’m really hoping to see it come down 7C. More would be better, but I’ll take 107C vs 114C at this point.
LikeLiked by 1 person
You want to use Deionized water. Distilled will still cause corrosion as distilled is just super pure water, but maintains its electrons. Deionized is just a pure, but the electrons have been removed.
LikeLike