
Earlier this year I installed ARK lowering springs, which lower the car 1.25” front and 1.15” rear. I chose ARK springs because they are only slightly stiffer than OE springs (134% stiffer front and 125% rear), and that should allow me preserve the Veloster’s decent road manners. Most lowering springs have a higher spring rate than ARK’s 263 F and 336 R, and would beat the shit out of me on potholed New York roads.
I chose lowering springs over coilovers mostly for the price ($250 on FB marketplace), but also because I like messing around with the OE shock settings. I set my N Custom mode for medium stiff suspension when on track, but can quickly soften the suspension on the touch screen, for rain or street.
Lowering springs alone can reduce roll stiffness and increase bump steer, so they aren’t always a performance benefit. So I also installed the Whiteline front roll center bump steer correction kit. As near as I can tell, the combination of lowering springs and Whiteline kit have improved the handling, and I don’t feel a hint of bump steer or any negative handling traits.
I tested the lowering springs in the A2 wind tunnel, and it resulted in less drag and less downforce than when the car was on OE springs. If you’ve read my wind tunnel report, you’d know the Veloster makes a little bit of downforce, straight from the factory. With the lowering springs, this turned into a small amount of lift, mostly on the rear. That was surprising, as I expected that lowering the car would increase front downforce, but the front also lifted a little.
Lowering the car also reduced drag, which was probably a result of less frontal area and less air going under the car. It’s not a huge change (.014), but the result of both drag and lift shows a very, very slight aero advantage over the base car.
One caveat is that I didn’t use the same wheels and tires on my second trip to the wind tunnel. I made a mistake and had my track wheels and tires (18×8.5 +43 with 235/40R18 tires) rather than the OE wheels I used on my previous trip to the wind tunnel (19×8 +55 with 235/35R19 wheels). This put the tires 18mm (3/4”) wider on each side, and could account for some of the difference in lift, but not drag reduction.
New splitter mounts
I also improved the splitter mounts both in front and in the rear. I placed the support rods further apart on the bumper, which reduces the angle of the rods. The rods are turnbuckles from the Lowe’s racing department, allow easy height adjustment, and with 3/8” bolts, are plenty strong.
I also made a new aluminum rear undertray and added a full width piano hinge to it. Thus, the entire splitter can be adjusted via the splitter rods, which changes the height and angle of attack on the splitter.

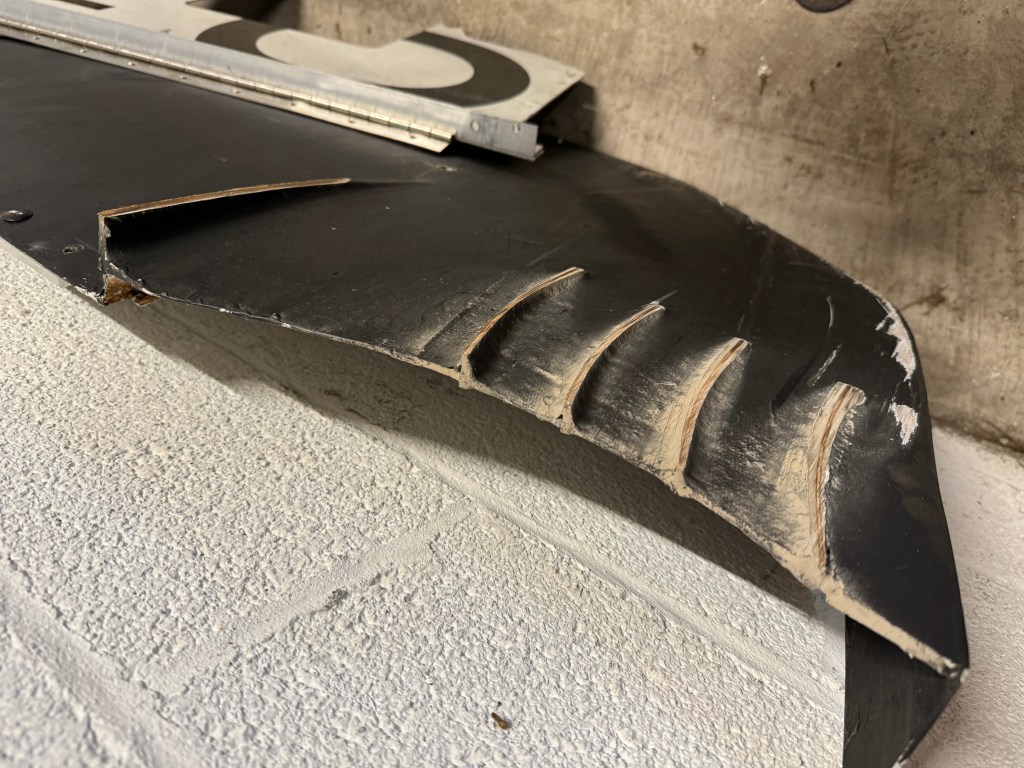
But the lowering springs are too soft or too low, because the splitter touches down on bumps and compression turns. In fact the vortex strakes I put so much work into have now been ground down to insignificance.
I figured I have three choices going forward:
- Revert to OE springs – The lowering springs aren’t much of a performance benefit, and if I had to do it all over again, I wouldn’t.
- Coilovers – Digressive coilovers with heavier springs would swallow hard bumps on the street and curbs on track, while allowing stiffer springs. I’d also be able to corner balance the car, and change ride height. And I could still change suspension compliance, just not from the touch screen.
- Remove the splitter – It’s been grounding out on steep driveways and on track, so I could just remove it. But I want more front downforce, damnit! Can I have my cake and eat it, too? What if I made a front undertray that fits exactly the same as the OE undertray, but has a built in diffuser? Hm….
Diffuser undertray
Digressive coilovers are the obvious choice going forward, but for the sake of experimentation and another DIY project, I decided to make an undertray with a diffuser. This won’t make as much downforce as a splitter, but it’s also completely tucked up and won’t hit anything, and invisible from the outside.
I started by tracing the OE undertray onto scrap aluminum. A single piece of aluminum would have been best, but I didn’t have anything 63” wide, so I pieced together three street signs. I get street signs from my local metal recycler for $1 per pound, and so this represents about $10 in materials.
I then cut out the general shape and drilled the mounting holes. To create the curve of the diffuser, I clamped the aluminum down to the table and alternately leaned on it and tapped with a hammer to create a curve. It looks like a single bend in the picture, but it’s actually three bends, with a gradual radius.
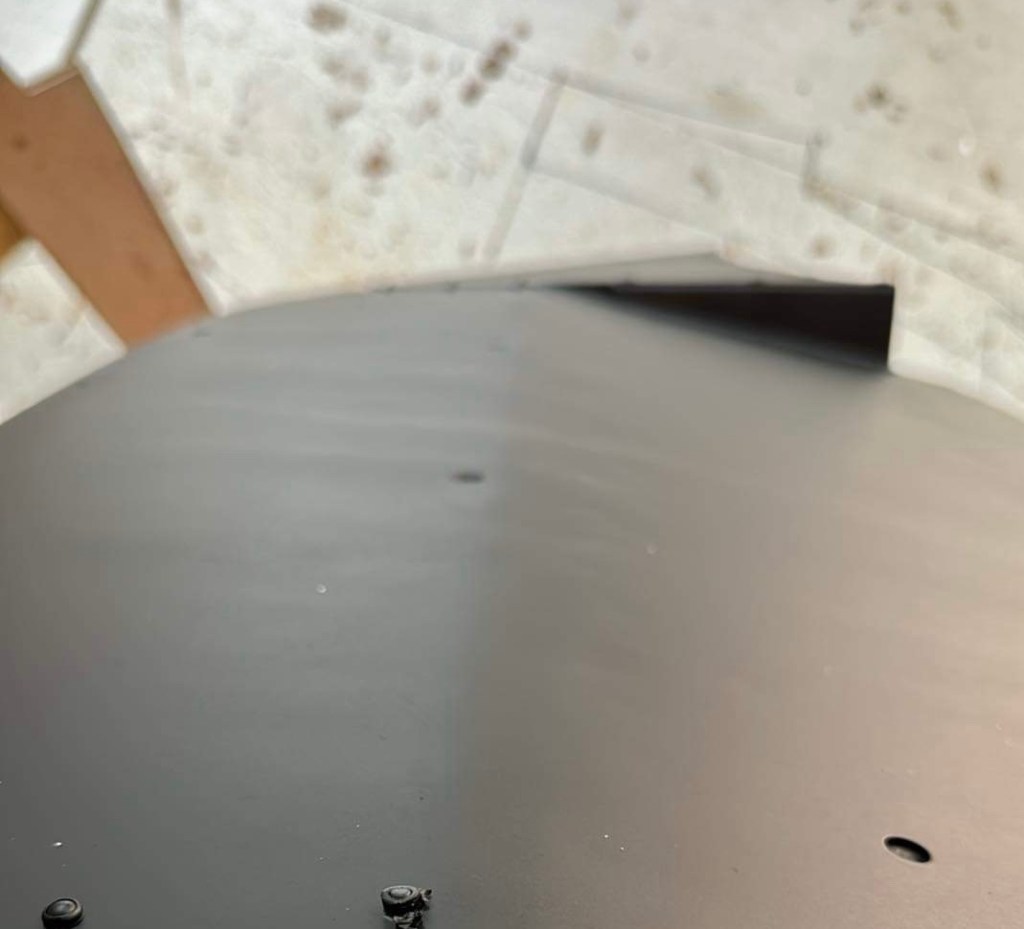
There are little aluminum ramps, sort of a Z-plate, that connect the flat portion in front of the wheels to the curved section in the middle. You can see those little triangles in the previous (blurry) image. These are fastened with rivets.

I guessed at the shape and length of the diffuser, and guessed wrong. It took a few tries to get the shape of the trailing edge, because the oil pan and intake plumbing are in the way. While doing that trimming, I also decided to add a hole for oil filter access. I later taped over this, and so accessing the oil filter is as simple as removing the tape.

The undertray attaches at the OE mounting points, but I replaced the plastic pop fasteners with 6mm speed clips. I used long countersunk Allens for the four bolts that attach to the radiator bracket. It’s fuggin solid.
How will it work? It’s hard to say, but I’ll make a guess. A flat splitter was 132 lbs of downforce at 100 mph, while the curved splitter was 163 lbs. So the diffuser portion alone might be 30 lbs of downforce, and when coupled with the differential in front pressure… let’s call it 60 lbs of downforce.
Splitter curvature (and/or vortex strakes) also contributed to a significant reduction in drag (.019) that resulted in a gain of about 3 hp vs the flat splitter. So the diffuser undertray may have some drag reduction, as well.
As DIY projects go, this was a satisfying one. It cost me $10 in materials and was finished by lunchtime. It weighs only 2.5 lbs more than the OE plastic, and is just as unobtrusive. The diffuser likely confers a performance benefit in both downforce and drag, and would probably pass scrutiny for a street (unmodified) class. I’ll take that as a win.
There are some racing rules that specify a flat splitter, but say nothing about the undertray (SCCA STU, for example). A clever person could add a flat splitter in front of this type of undertray, and get the full benefit of a fully curved splitter, while also adhering to the written rule. Likewise, there are some racing rules where a splitter costs some performance points, but you can add an airdam and (unspecified) undertray for less. Undertray diffusers FTW!
