I’m less serious about performance or aero on my second Veloster N, and doing some mods just for fun, appearance, or convenience. One of the things I’ve done is to install rally lights.
I deliberated on 3.7” and 5” lights, bought both, and eventually returned the 5” lights. The larger lights were higher quality and gave the car a more legit rally look, but they were also a lot heavier. I was concerned about the extra weight bouncing around on the front of the car, more than a weight from a performance aspect.
I also went back and forth on white versus yellow lights, and in the end I decided to buy a pair of each.

To mount the lights I removed the front fascia and installed U-bolts around the front bumper beam. I then used coupling bolts on the bottom of the U-bolts to hold up an aluminum U-channel, which would serve as the mounting point for the lights.

I mounted everything up, checked clearances, ran the wires, tested the lights, and let out a sigh of satisfaction. And then I disassembled everything. Now that I was sure everything worked and fit, I could put the front fascia back on again.
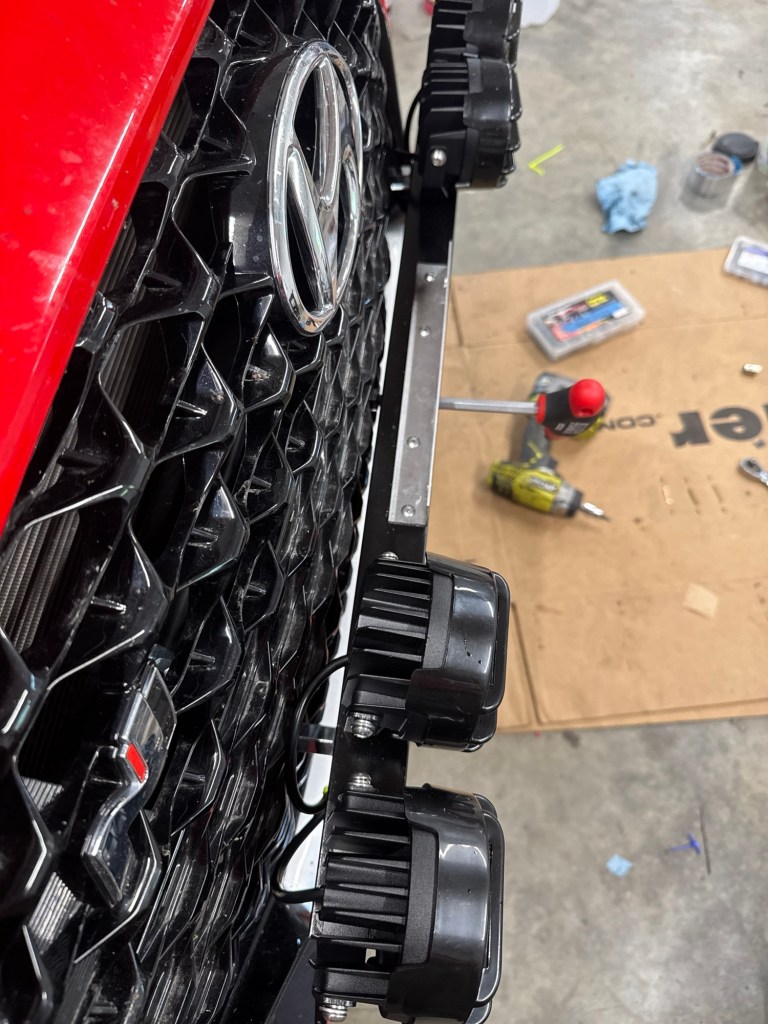
In the following picture you can see a T-handled hex key inserted into the mounting bar (black U-channel), which is how the lights are installed and removed. If I need to remove the fascia, I undo three Allen bolts, unclip the wiring harness, and pull the whole light bar away. It all comes off in a minute or two. The mounting system is otherwise invisible, and I’m pretty happy with how it came out.

The final step was to run the wires into the cockpit. This required removing a few pieces of interior trim, zip tying wires, and drilling holes in the dash plastic to mount the switches.
All told, the project cost me a little over $100 and took about a day to install. I removed and installed the front fascia at least three times figuring out how to mount the light bar in front of the fascia, and moving the U-bolts around. Other time sinks included managing all of the wires so that the bar would disconnect easily, and running the wires into the cockpit.

I’ve tested the lights a few times now, and they are awesome. I have the white lights pointed out into the corners as apex lights, and they do a great job illuminating the sides of the road. This is important this time of year with all of the deer collisions. The yellow lights are pointed straight ahead and down, to be used as fog lights.
